
 Member
 sakana
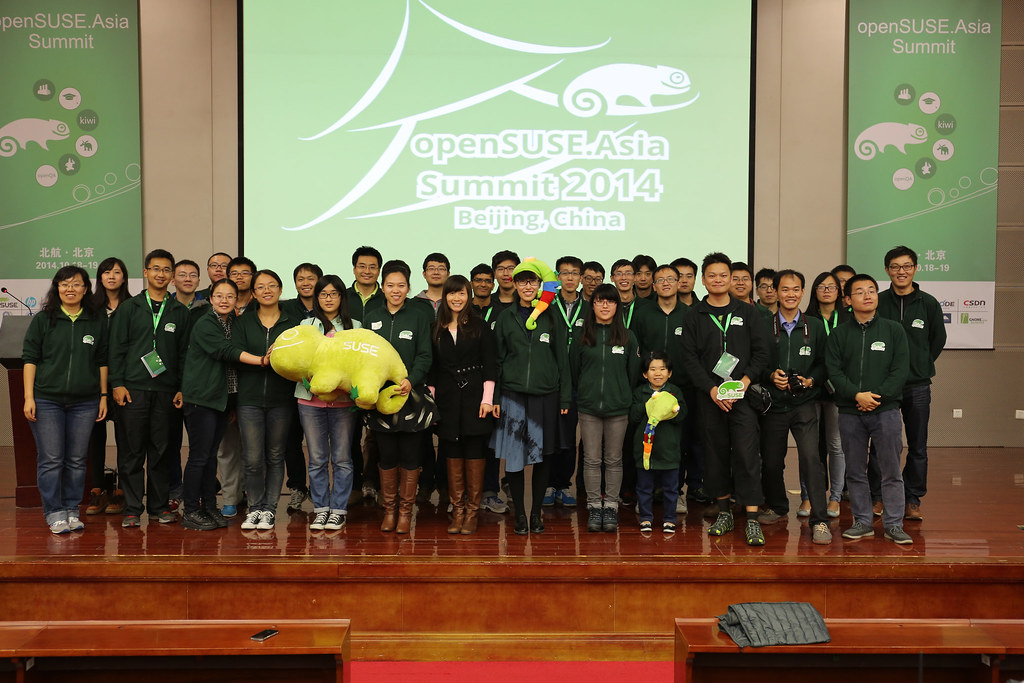
openSUSE.Asia Summit 2014

openSUSE.Asia Summit 2014 is the first openSUSE Summit in Asia, which aims to promote openSUSE and other free and open source software in the region (especially in colleges).
I am very pleasure to be one of the organize team members.
I want to mention Sunny's mail and thanks her and all staff again
---------From Sunny----------------------------------------
I would take this opportunity to thank the openSUSE.Asia Summit
organization team. Today, now the openSUSE.Asia summit has started,
I'm reminded of the journey we took to get here.
I can not forget our weekly meetings, which often lasted to midnight.
I can't forget 137 cards in trello for the preparation tracking.
And I can't forget hundredss of emails about the Summit in our mail
boxes.
When we were on the way to reach this summit, we encouraged and
supported each other. Even though we were tired, we never gave up,
because we did believe we would finally be here. It is my honor being
a member of such a great team!
There are 17 people in the organization team, I won't list everyone's
name because we are a team, and we couldn't have make any success
without each of us.
------------------------------------------------------------

Come from India / Beijing / Japan / Taiwan to welcome everyone come to openSUSE.Asia Summit.
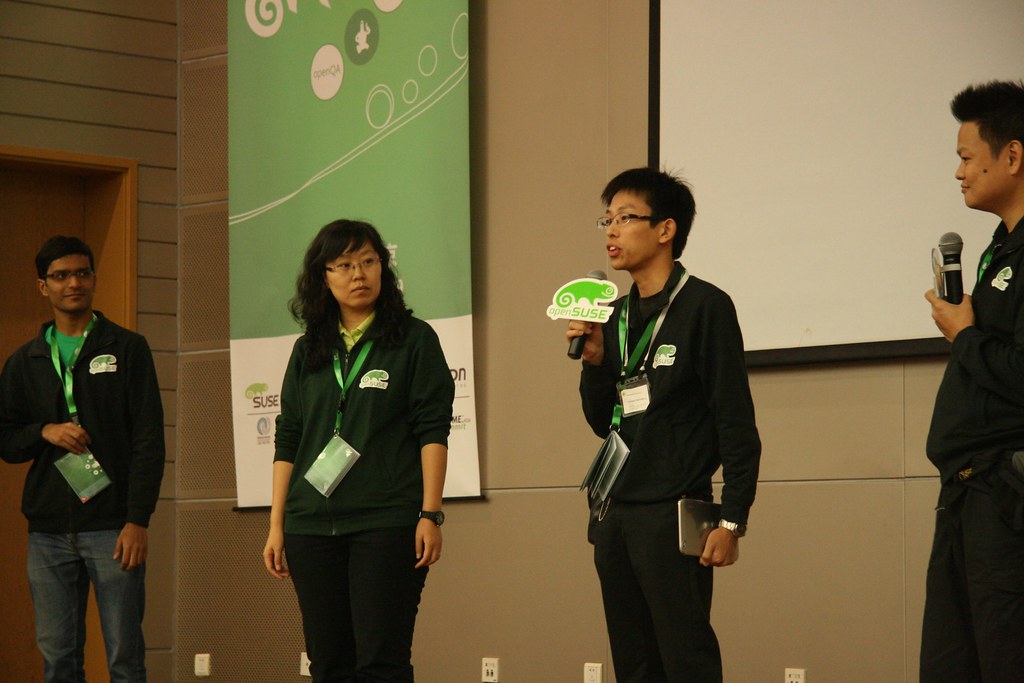
Thanks our keynote speakers
* Richard Brown
* Ralf Flaxa
* 谷雷
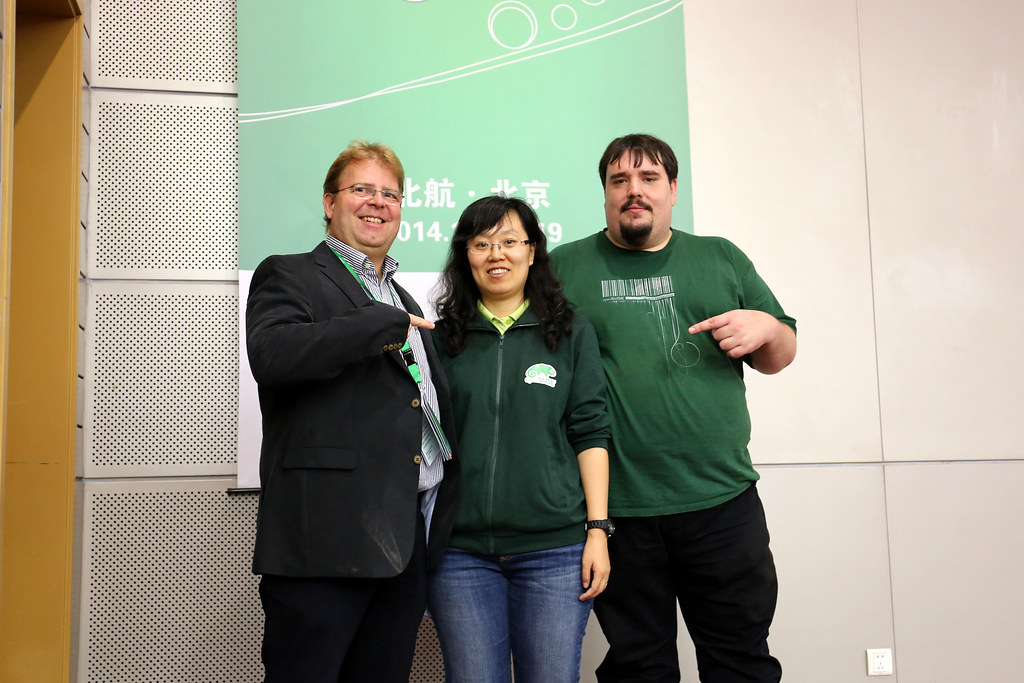
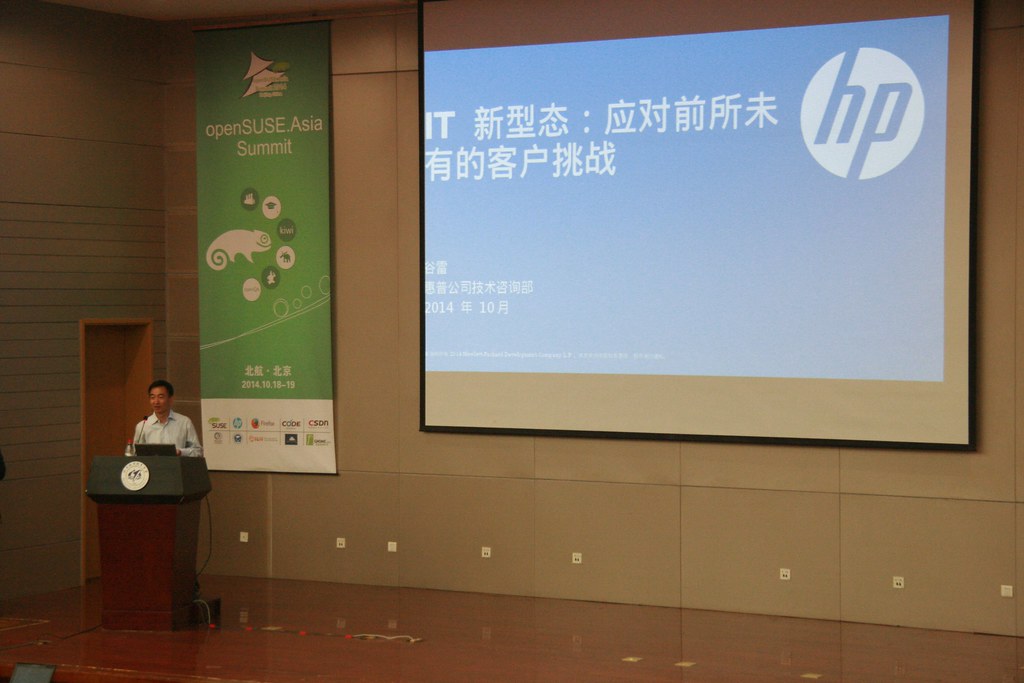
Thanks all our speakers

We have lots of fun with session and workshop in these 2 days.
I have some sessions this year.
Long talk: FOSS & Education in Taiwan with Ezilla project
Short talk: Easy Install Nagios Server with openSUSE 13.1
And in All stars: Introduce openSUSE community in Taiwan
We have strong design team this year.
It still in my office right now :-)
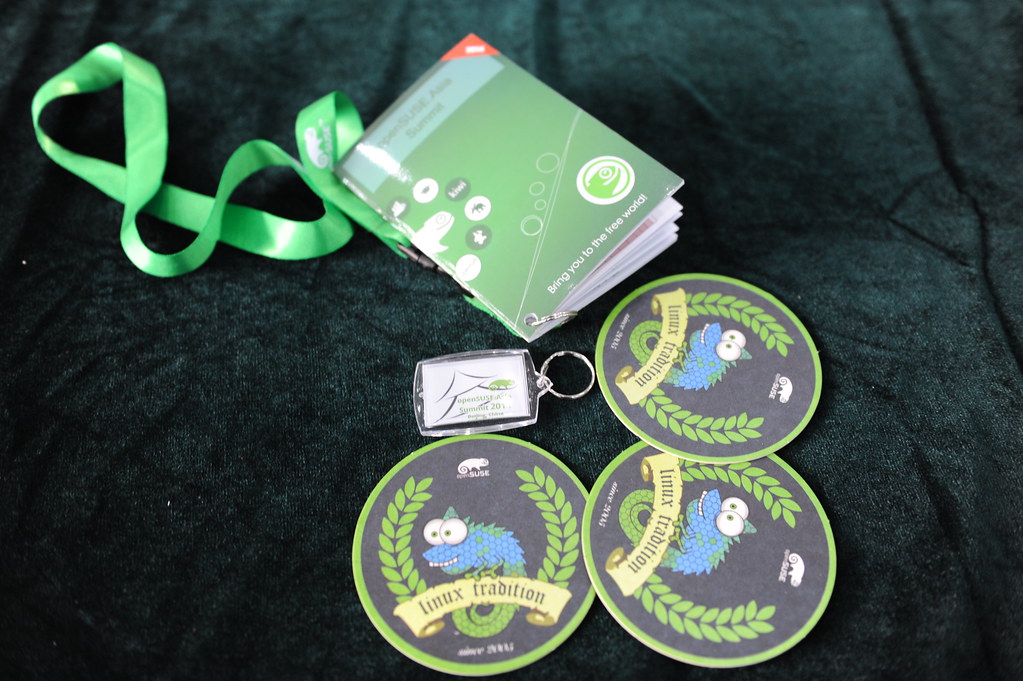
I want to thank our sponsors
SUSE / HP / Firefox / CSDN / BLUG / owncloud / GNOME.Asia
Without our sponsors, we can't have such lovely summit.
The most important for me is
"We got lots of SMILE"

Thanks our great volunteers
Thanks all your contributions.


code churning and golang
The whole activity spanned for about 12 weeks roughly and we were able to build a very good evolutionary prototype. I was looking at the gitlab stats at the end of 12 weeks and found my personal log to be:
9752 lines added
7119 lines deleted
Even if we assume a 6 day workweek, it translates to about 135 lines of new go code added per day by a developer on an average. There have been very productive days, where I was able to add more than 400 lines of non-copy-paste code in a single day, that I ended up having to take rest the next day, to recover.
In the past, I have written a lot of C code. I have never felt this productive in C, largely due to the manual memory management (and the ensuing problems like double free, leaks, valgrinding etc.) and difficult concurrency (pthreads, locks, etc.)
It is kind of obvious that Go will naturally feel more productive, due to automatic memory management and concurrency friendly features (goroutines, channels, etc.), resulting in very less non-business-code.
However, I observed that there are two other non-intuitive reasons why Go lang was very productive (for me). These reasons do not appear big on their own. But in the overall development time, they were a big influence on my productivity. They are:
1) Static Binary Creation without complex, external build tools
Thanks to my openSUSE packaging experience, I have always taken up the responsibility to keep the sources of the project where I work as an engineer, in a properly and a packager-friendly build system. I like build friendly sources to an extent that, about an year ago, One of the first tasks that I did, when I moved to a team, was to port an old packaging system of hand-written makefiles and obsolete build systems with sources across tens of thousands of files and managed for about two decades, to CMake. IOW, I know about Linux packaging and its pains.With go, I was able to easily build the sources and get all the dependencies via a single `go get` command. Installing the binary on a test cluster, or in the AWS was merely a single command away. There was no need to wait for any complicated build setup, setting up dependencies or even waiting hours for a build to finish. There is no need to write complicated Makefiles, CMakeFiles, Configure files, build scripts etc.
Usage of the `go get` tool mandates developers to follow a certain discipline regarding installation/inclusion of libraries, binaries. Static binary generation helps avoid a tonne of deployment hassles. All these minor things, when we do a dozen or more builds in a day, add up to a very big productivity boost. It is not even that uncommon to do a dozen builds in a day, to aid testers, in the prototyping stage. Because of the elegance and simplicity of `go get`, the testers did not even have to wait on dedicated packagers or on developers to get the testbuilds. Even if you don't have dedicated testers, static binary generation, simplifies your test setup time.
2) Composition instead of Inheritance
This point is very difficult to explain, as it is more abstract, but is more influential than the previous. In the beginning, I was struggling to get Composition right. I ended up trying to organize my files based on an inheritance model (much like the [fs/< files>.c , fs/< ext>/I had to pause, unlearn a few things and think in a fresh perspective again to understand it. Composition is like Cycling. Once you get the hang of it, there is no falling down. I felt that the Composition based model has helped a lot more than any other feature of golang to improve my productivity.
With composition, the amount of code changes needed when you refactor code (which is very common in most freshly written code) is very very less than in a code, designed for inheritance. It is very hard to explain how this helps in simple English words. But I recommend you write code for yourself and appreciate this. In addition to easy refactoring, Composition tends to reduce boilerplate code substantially and makes diamond problem obsolete.
The Embedding of the Transport object in go lang's http Client object helped me understand Composition a lot clearer than any tutorial or book.
Conclusion
Because, I was able to write a lot of code fast, I was not too scared to shed code and start from scratch when needed. This explains the about 7k deletions of code.goimports and vim-go also helped a lot to get some IDE like features, all of which should thank gofmt in return.
Have you felt any other reason that made you feel a high-level of code churning can be achieved in Go ?

Dice - A light weight build service
It was fun and Marcus code was very easy to understand, very well structured and with comprehensive tests.
Dice is a simple build service for KIWI images using virtual instances controlled by vagrant or a directly contacted build machine. It can be used to fire up build jobs on e.g public cloud instances.
What that means is that you can do:
>dice build myimage
and that will either:
1- start a virtual machine on your workstation/laptop and build your image IN that virtual machine
2- connect to a virtual machine on the cloud (i.e. google cloud) and build your image IN that cloud virtual machine
And why all the trouble? the reasons:
1- setting up an environment for building images on your laptop/workstation can be sometimes paintful
2- running multiple builds on your laptop/workstation will make your host performance get low. Builds take time, thus you normally are doing something else meanwhile, and running the build on the cloud can be very good so that you can use your resources for something else
3- security: building an image implies running custom scripts. If you have done this scripts, fine, but if not, better not run it on your laptop/ws.
4- availability: having a build service on the cloud, makes it available to others that won't have to invest time on setting it up
During those 2 days, I just implemented the ssh command as:
> dice ssh myimage
which will open an ssh connection to the build node, either virtual machine on you laptop/ws or in the cloud, so that you can easily debug when a build fails.
II Security on the nework Congress
This was held very close from where I live now and I was invited to give a speach there, which I happily did.
I explained the timeline of CVE-2014-081 (see my previous post on it).
There were about 300 people registered and was a very interesting event with very interesting talks on security.
I was also very happy to meet a friend from my home town.
Overall, it was fun and worth it.
Thanks to the organizers!


New toy
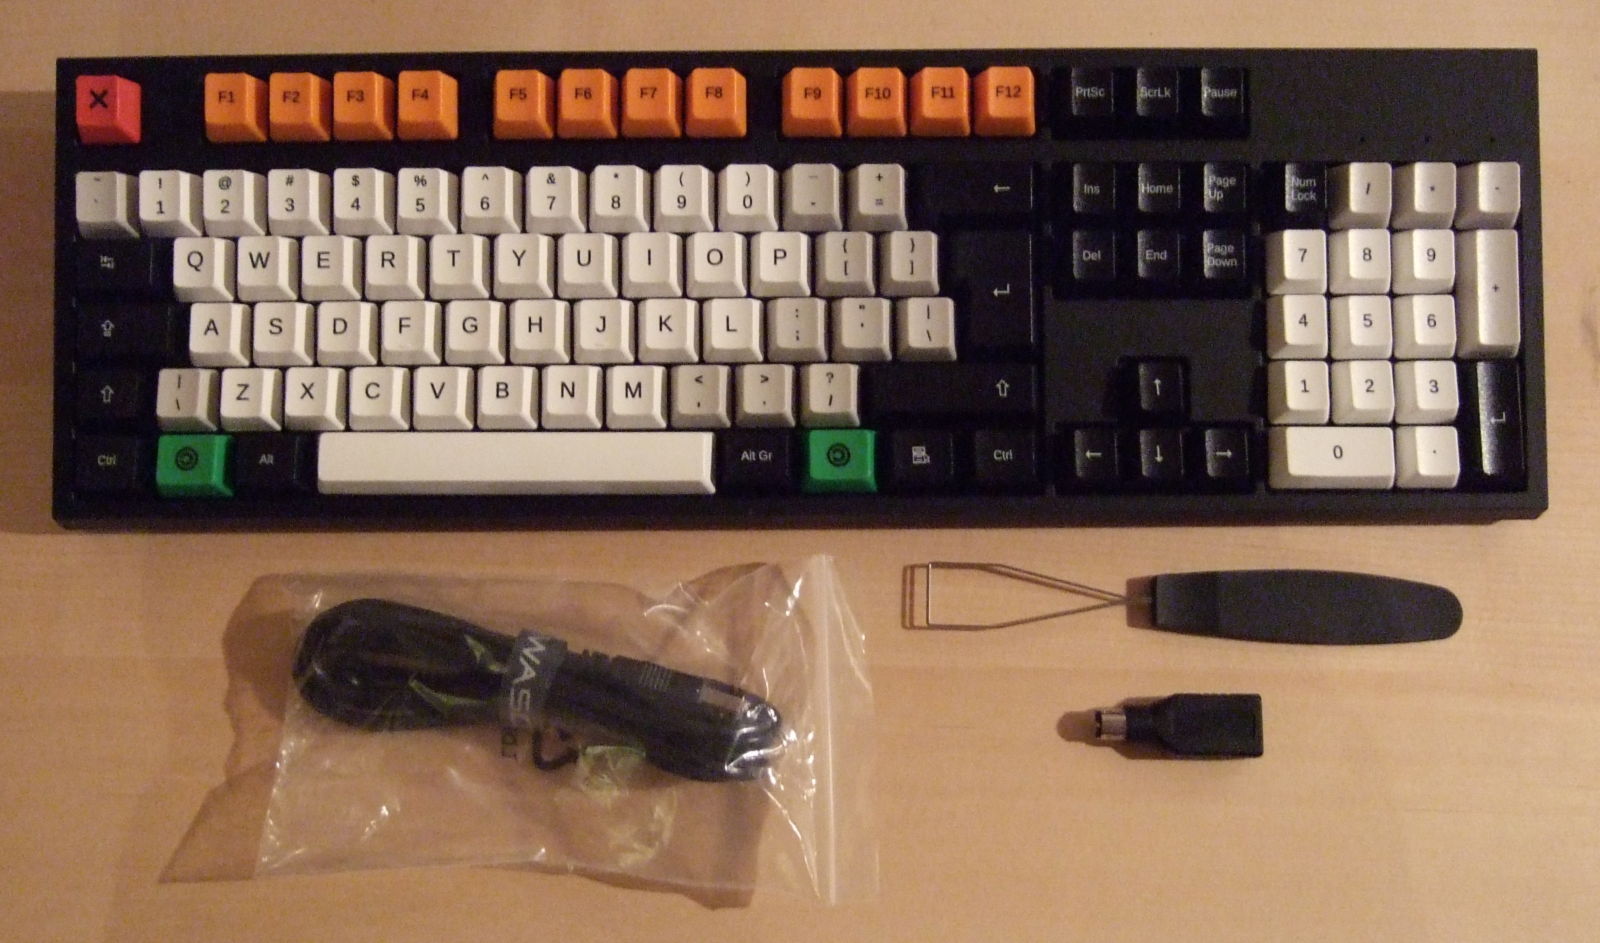
I got a new toy. It’s a WASD keyboard with Cherry MX Clear switches. The picture doesn’t do it justice; maybe I should’ve gotten a new camera instead… I guess it’ll have to wait.
Mechanical-switch keyboards are pricey, but since I spend more than 2000 hours a year in front of a keyboard, it’s not a bad investment. Or so I’m telling myself. Anyway, it’s a big step up from the rubber dome one I’ve been using for the past couple of years. The key travel is longer, and it’s nice to have proper tactile feedback. Since the Clear switches have stiff springs, I can also rest my fingers on the keys when daydreamingthinking. It has anti-slip pads underneath, so it stays put, and it doesn’t bounce or rattle at all.
Until our last move, I clung to an older, clicky keyboard (I don’t remember which brand — I thought it was Key Tronic, but I’ve a hard time finding any clicky keyboards of theirs at the moment), worried that the future held rubber dome and chiclets only — but today, there are lots of options if you look around. I guess we have mostly gamers and aficionados to thank for that. So thank you, gamers and aficionados.
I did plenty of research beforehand, but WASD finally drew me in with this little detail: They have some very well thought-out editable layout templates for SodipodiInkscape. Good taste in software there.
Discourse/README.SUSE
README.SUSE
So it seems you installed the discourse package that we provide for openSUSE/SUSE.
Preparing PostgreSQL
$ zypper in postgresql-server postgresql-server
$ su - postgres
$ createuser -P discourse
$ createdb -O discourse discourse
Add the required postgresql extensions to the DB. We extract those at build time from the migrations. If you run migrations with a normal postgresql user, you can not add extensions during the migrations. That’s why we add them here.
Watching Grass Grow
For Hackweek 11 I thought it’d be fun to learn something about creating Android apps. The basic training is pretty straightforward, and the auto-completion (and auto-just-about-everything-else) in Android Studio is excellent. So having created a “hello world” app, and having learned something about activities and application lifecycle, I figured it was time to create something else. Something fun, but something I could reasonably complete in a few days. Given that Android devices are essentially just high res handheld screens with a bit of phone hardware tacked on, it seemed a crime not to write an app that draws something pretty.
 The openSUSE desktop wallpaper, with its happy little Geeko sitting on a vine, combined with all the green growing stuff outside my house (it’s spring here) made me wonder if I couldn’t grow a little vine jungle on my phone, with many happy Geekos inhabiting it.
Android has OpenGL ES, so thinking that might be the way to go I went through the relevant lesson, and was surprised to see nothing on the screen where there should have been a triangle. Turns out the view is wrong in the sample code. I also realised I’d probably have to be generating triangle strips from curvy lines, then animating them, and the brain cells I have that were once devoted to this sort of graphical trickery are so covered in rust that I decided I’d probably be better off fiddling around with beziers on a canvas.
So, I created an app with a SurfaceView and a rendering thread which draws one vine after another, up from the bottom of the screen. Depending on Math.random() it extends a branch out to one side, or the other, or both, and might draw a Geeko sitting on the bottom most branch. Originally the thread lifecycle was tied to the Activity (started in onResume(), killed in onPause()), but this causes problems when you blank the screen while the app is running. So I simplified the implementation by tying the thread lifecycle to Surface create/destroy, at the probable expense of continuing to chew battery if you blank the screen while the app is active.
Then I realised that it would make much more sense to implement this as live wallpaper, rather than as a separate app, because then I’d see it running any time I used my phone. Turns out this simplified the implementation further. Goodbye annoying thread logic and lifecycle problems (although I did keep the previous source just in case). Here’s a screenshot:

The final source is on github, and I’ve put up a release build APK too in case anyone would like to try it out – assuming of course that you trust me not to have built a malicious binary, trust github to host it, and trust SSL to deliver it safely 
Enjoy!
Update 2014-10-27: The Geeko Live Wallpaper is now up on the Google Play store, although for some reason the “Live Wallpaper” category wasn’t available, so it’s in “Personalization” until (hopefully) someone in support gets back to me and tells me what I’m missing to get it into the right category.
Updated Update: Someone in support got back to me. “Live Wallpaper” can’t be selected as a category in the developer console, rather you have to wait for Google’s algorithms to detect that the app is live wallpaper and recategorize it automatically.

openSUSE 13.x / Factory processor P-States and Performance
Change your directory to /sys/devices/system/cpu/intel_pstateWe have the max_perf_pct and the min_perf_pct and if we cat these files we can see their values.
system:/sys/devices/system/cpu/intel_pstate # l
total 0
drwxr-xr-x 2 root root 0 Oct 21 18:45 ./
drwxr-xr-x 14 root root 0 Oct 21 18:45 ../
-rw-r--r-- 1 root root 4096 Oct 21 18:45 max_perf_pct
-rw-r--r-- 1 root root 4096 Oct 21 18:45 min_perf_pct
-rw-r--r-- 1 root root 4096 Oct 21 18:45 no_turbo
# cat max_perf_pct
100
# cat min_perf_pct
32
# cpupower frequency-info
analyzing CPU 0:
driver: intel_pstate
CPUs which run at the same hardware frequency: 0
CPUs which need to have their frequency coordinated by software: 0
maximum transition latency: 0.97 ms.
hardware limits: 1.20 GHz - 3.70 GHz
available cpufreq governors: performance, powersave
current policy: frequency should be within 1.20 GHz and 3.70 GHz.
The governor "powersave" may decide which speed to use
within this range.
current CPU frequency is 3.53 GHz (asserted by call to hardware).
boost state support:
Supported: yes
Active: yes
3500 MHz max turbo 4 active cores
3500 MHz max turbo 3 active cores
3600 MHz max turbo 2 active cores
3700 MHz max turbo 1 active cores
# cpupower frequency-set -g performanceAlso if we cat /sys/devices/system/cpu/intel_pstate/min_perf_pct you will notice that it has changed to 100
# cpupower frequency-info
analyzing CPU 0:
driver: intel_pstate
CPUs which run at the same hardware frequency: 0
CPUs which need to have their frequency coordinated by software: 0
maximum transition latency: 0.97 ms.
hardware limits: 1.20 GHz - 3.70 GHz
available cpufreq governors: performance, powersave
current policy: frequency should be within 1.20 GHz and 3.70 GHz.
The governor "performance" may decide which speed to use
within this range.
current CPU frequency is 2.83 GHz (asserted by call to hardware).
boost state support:
Supported: yes
Active: yes
3500 MHz max turbo 4 active cores
3500 MHz max turbo 3 active cores
3600 MHz max turbo 2 active cores
3700 MHz max turbo 1 active cores
Thats good its all at 100% but wait we still are not done. There is another setting for P-States. Its called Performance Bias. From the man page cpupower-set you can read the following about it.
----snip----
Options
--perf-bias, -b
Sets a register on supported Intel processore which allows software to convey its policy for the relative importance of performance versus energy savings to the processor.
The range of valid numbers is 0-15, where 0 is maximum performance and 15 ismaximum energy efficiency.
The processor uses this information in model-specific ways when it must select trade-offs between performance and energy efficiency.
This policy hint does not supersede Processor Performance states (P-states) or CPUIdle power states (C-states), but allows software to have influence where it would otherwise be unable to express a preference.
For example, this setting may tell the hardware how aggressively or conservatively to control frequency in the "turbo range" above the explicitly OS-controlled P-state frequency range.It may also tell the hardware how aggressively it should enter the OS requested C-states.
This option can be applied to individual cores only via the --cpu option, cpupower(1).
Setting the performance bias value on one CPU can modify the setting on related CPUs as well (for example all CPUs on one socket), because of hardware restrictions. Use cpupower -c all info -b to verify.
This options needs the msr kernel driver (CONFIG_X86_MSR) loaded.
----snip----
So lets set our bias to 0 so we can get absolute maximum performance. The default is 8 on openSUSE. Execute the following.
# cpupower set -b 0and to check it.
# cpupower info
analyzing CPU 0:
perf-bias: 0

MP4 improvements in Firefox for Android
One of the things that has always been a bit of a struggle in Firefox for Android is getting reliable video decoding for H264. For a couple of years, we’ve been shipping an implementation that went through great heroics in order to use libstagefright directly. While it does work fine in many cases, we consistently get reports of videos not playing, not displayed correctly, or just crashing.
In Android 4.1, Google added the MediaCodec class to the SDK. This provides a blessed interface to the underlying libstagefright API, so presumably it will be far more reliable. This summer, my intern Martin McDonough worked on adding a decoding backend in Firefox for Android that uses this class. I expected him to be able to get something that sort of worked by the end of the internship, but he totally shocked me by having video on the screen inside of two weeks. This included some time spent modifying our JNI bindings generator to work against the Android SDK. You can view Martin’s intern presentation on Air Mozilla.
While the API for MediaCodec seems relatively straightforward, there are several details you need to get right or the whole thing falls apart. Martin constantly ran into problems where it would throw IllegalStateException for seemingly no valid reason. There was no error message or other explanation in the exception. This made development pretty frustrating, but he fought through it. It looks like Google has improved both the documentation and the error handling in the API as of Lollipop, so that’s good to see.
As Martin wrapped up his internship he was working on handling the video frames as output by the decoder. Ideally you would get some kind of sane YUV variation, but this often is not the case. Qualcomm devices frequently output in their own proprietary format, OMX_QCOM_COLOR_FormatYUV420PackedSemiPlanar64x32Tile2m8ka. You’ll notice this doesn’t even appear in the list of possibilities according to MediaCodecInfo.CodecCapabilities. It does, however, appear in the OMX headers, along with a handful of other proprietary formats. Great, so Android has this mostly-nice class to decode video, but you can’t do anything with the output? Yeah. Kinda. It turns out we actually have code to handle this format for B2G, because we run on QC hardware there, so this specific case had a possible solution. But maybe there is a better way?
I know from my work on supporting Flash on Android that we use a SurfaceTexture there to render video layers from the plugin. It worked really well most of the time. We can use that with MediaCodec too. With this output path we don’t ever see the raw data; it goes straight into the Surface attached to the SurfaceTexture. You can then composite it with OpenGL and the crazy format conversions are done by the GPU. Pretty nice! I think handling all the different YUV conversions would’ve been a huge source of pain, so I was happy to eliminate that entire class of bugs. I imagine the GPU conversions are probably faster, too.
There is one problem with this. Sometimes we need to do something with the video other than composite it onto the screen with OpenGL. One common usage is to draw the video into a canvas (either 2D or WebGL). Now we have a problem, because the only way to get stuff out of the SurfaceTexture (and the attached Surface) is to draw it with OpenGL. Initially, my plan to handle this was to ask the compositor to draw this single SurfaceTexture separately into a temporary FBO, read it back, and give me those bits. It worked, but boy was it ugly. There has to be a better way, right? There is, but it’s still not great. SurfaceTexture, as of Jelly Bean, allows you to attach and detach a GL context. Once attached, the updateTexImage() call updates whatever texture you attached. Detaching frees that texture, and makes the SurfaceTexture able to be attached to another texture (or GL context). My idea was to only attach the compositor to the SurfaceTexture while it was drawing it, and detach after. This would leave the SurfaceTexture able to be consumed by another GL context/texture. For doing the readback, we just attach to a context created specifically for this purpose on the main thread, blit the texture to a FBO, read the pixels, detach. Performance is not great, as glReadPixels() always seems to be slow on mobile GPUs, but it works. And it doesn’t involve IPC to the compositor. I had to resort to a little hack to make some of this work well, though. Right now there is no way to create a SurfaceTexture in an initially detached state. You must always pass a texture in the constructor, so I pass 0 and then immediately call detachFromGLContext(). Pretty crappy, but it should be relatively safe. I filed an Android bug to request a no-arg constructor for SurfaceTexture more than two years ago, but nothing has happened. I’m not sure why Google even allows people to file stuff, honestly.
tl;dr: Video decoding should be much better in Firefox for Android as of today’s Nightly if you are on Jelly Bean or higher. Please give it a try, especially if you’ve had problems in the past. Also, file bugs if you have issues!