
 kobliha
YaST Development Has Been Moved to GitHub

See also this announcement.
Contributing to YaST has never been easier: Fork for the repository, play with the code, commit it and make a pull request. Meet the YaST guys at irc.freenode.net #yast
Many thanks to the SUSE Systems Management team, and especially to Jens Daniel Schmidt and Bernhard Wiedemann!
A New Font Repository
what do you need when you write some text? Content, of course. Apart from your content you need an additional part to make it a shiny contribution: fonts! If you don’t know already: we have now a new repository dedicated just to fonts.
With the invaluable work and effort from Petr Gajdos, Takashi Iwai, and all the creative designers, we now have more than 100 open source fonts in the M17N:fonts repository. Most fonts are licensed under the OFL or other open/free licenses. Thanks a lot to all! This repository contains fonts like the previously mentioned Exo typeface, the famous Linux Libertine, or fonts from the Google Webfonts page to name a few. With all these fonts available at your hand, you have many choices to make your text readable and attractive as you like, be it on the Web or in print.
Previous to openSUSE 12.1, all the fonts had a terrible naming convention: some contained a “fonts” prefix, other don’t. Now all fonts follow a naming convention to make it easy to find. So don’t be surprised when your font package has been renamed. If you need further information, check out my original idea from FATE#313035. Packagers will probably find the article about Packaging Fonts in the openSUSE Wiki helpful.
The new M17N:fonts repository collects all fonts now and in the future. New fonts will appear and developed there. To use it, add the repository to your list:
zypper ar http://download.opensuse.org/repositories/M17N:/fonts/openSUSE_12.1/M17N:fonts.repo
Currently, the supported distributions are openSUSE 11.4, 12.1, Evergreen 11.1, 11.2, Factory, Tumbleweed, as well as SLE11 SP1 and SP2.
Have fun and be creative with the new fonts! 

 Member
Time To Say Sionara

Coding period starts!
Improved Rulers
Recently I was able to spend a bit of time on the UI hacking again; and this time it was the "Rulers" in Writer. Thanks to Mirek M. (BTW, have you seen his Call for GSoC projects designs, and Call for Templates blog entries?) who provided me with a helpful mockup, I was able able to implement the new look quickly and effectively, mostly by removing code :-)
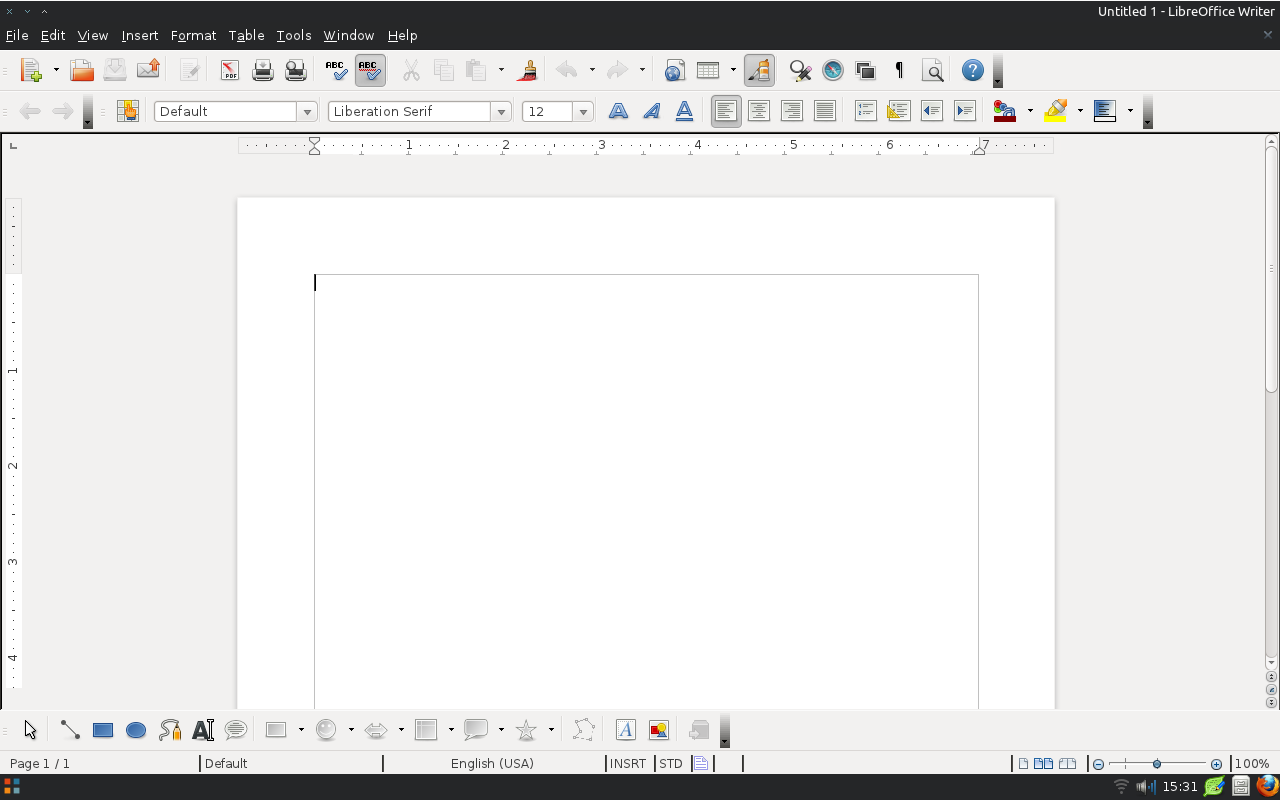

I hope I will be able to do more such changes before the 3.6 feature freeze; I'll keep you informed. And if anybody of you is interested in UI-related hacking, just mail me or ping me on the IRC (kendy on irc.freenode.net), and I'll provide you with code pointers to other interesting areas :-)
YaST is Moving to GitHub

We'd like to benefit from some GitHub features, such as code review, comments, easier merging and cherry-picking, integrated wiki etc., but most of all, we'd like to be closer to the community so it's easier for you to change anything in YaST.
See you soon at GitHub!
Getting the most of your Gnome Shell with Extensions
So now I present to you my personal favorite Gnome Shell extensions to address a number of these concerns. I frankly like Gnome Shell, and am thus not terribly interested in trying to alter the appearance or behavior of the environment to ape Gnome 2 or any other desktops. That being said, there are a few things that probably should have been included. You must be using Gnome 3.2 or higher to be able to use the Gnome Shell extensions.
1.Alt-Tab switcher
Knowing to use the Alt-Tab application switcher is a quick way to speed up your workflow. However, the switcher in Gnome Shell is just a bit counter-intuitive since it is hybridized a bit. Check the Gnome Cheat Sheet to see if you like the original. If you don't like being unable to switch between windows in the older fashion (the new fashion by default simply lists open applications, then offers what is essentially a dropdown to get to the individual windows) then this extension is for you. A plus with this one, is that switches the behavior to a slick and attractive coverflow design.
2.Alternative Status Menu, or how the hell do I reboot!?!?!
With the Alternative Status Menu, the need for holding the Alt key is removed. Now you have access to powering off and rebooting in the normal way you would expect.
3.Network Connections.
So, often I have had to remove a connection in order to reconnect to a network that has changed in some way. Granted this is probably a flaw with my hardware or the router in question. Nonetheless, getting quickly to network connections isn't as obvious as it used to be. This extension fixes that by adding a shortcut in the networking menu.
4.Remove the Accesibility Icon.
Many people have no use for the accessibility options, and thus don't want the clutter in the panel. This extension removes it.
5.Notifications.
I like the new way of handling notifications, but if I step away from my computer I may miss them if I don't check that little auto-hiding tray in the lower right. This extension adds a little notifier icon to the panel to let you know you have new notifications and allows you to access them.
6.Calculator.
This isn't a lack from Gnome 2, but I like it. Simply start tapping in a math problem in the dashboard overview and see an instantly calculated result.
7.Media Player Indicator.
This extension adds an elegant little controller to your panel when there is an open media player that uses the correct interface(MPRIS2), which is most. This allows you to quickly control your media playback from such programs as Banshee or Rythymbox.
8.Advanced Settings
Add Advanced Settings to your status menu. This will allow you to instantly open the gnome-tweak-tool which is installed by default on openSUSE.
9.Places Status Indicator
This adds your home folder into a neat drop down. Its rather like a stackfolder, or the legacy gnome menu Places. Very convenient.
Horde 5 Preview: Sesha Inventory App 1.0 and updated Rdo library
Dear folks, I am very pleased to announce:
The Sesha Inventory application is ready for Horde 5 and it is in good shape. Sesha is a simple inventory keeping application which originally developed by Bo Daley and Andrew Coleman on Horde 3. The product was never officially released but it went into production at several sites. Sesha release cycle can now start together with the Horde 5 Alpha release cycle.
Sesha inventory can be configured to hold any number of stock categories with any number and type of attributes.
Like the original version, Sesha for Horde 5 can provide its stock categories as ticket queues for the horde ticketing application whups.
There are a lot of plans and ideas for upcoming versions but for this time the focus was on finishing a releasable product.There are no surprises for existing users of Horde 3 based sesha. Most work happened invisibly under the hood:
- The Horde_Template library was exchanged by new Horde_View code
- A migration script for database was added
- Users can keep their original Horde 3 Sesha tables and data.
- The sql backend driver was completely reworked into a driver based on the Horde_Rdo ORM library The new Driver Api provides enhanced search capabilities but the current frontend doesn’t make use of it. I do not plan to add any features to the classic view but start working on an Ajax view once the Horde 5 Redesign is completed. This may ship with Sesha 1.1 later on.
- Object oriented code has replaced complicated hashes in many places
The Horde Rdo library is the new work horse inside Sesha. Rdo means Rampage Data Objects and is a lightweight ORM layer by Horde founder Chuck Hagenbuch. It maps database tables to PHP Objects. This is similar to the ActiveRecord pattern. Each database row can be turned into one Rdo item. For Sesha and another – non-public – software project, some enhancements went into the Rdo library for Horde 5:
- Rdo now provides a caching factory or root object which speeds up creation of mapper objects
- Methods for add, removing or checking many-to-many relations have been added
- A number of edge case bugs have been fixed
I think the Horde 5 release cycle will start with alpha1 releases sometime in May. I know we’re a little late but it’s worth the wait.
That said, I welcome any early testing or updates of the language files. Provided everything works as expected, Sesha will be shipped with Horde 5 for OpenSUSE 12.2

Some news about GUADEC 2012 content
Notification to speakers
The GUADEC 2012 programme committee took a bit more time than first anticipated to evaluate all talk submissions, but it's now all done: this morning, we finally sent the notification to speakers. Thanks to everyone who submitted a talk: it looks like we'll have a great GUADEC :-) Of course, we still need to create the schedule, but that should be trivial, right? (hmm...)
If you submitted a talk and didn't get a positive or negative answer by mail, please first check your spam folder: mail is from guadec-papers, and contains Your talk at GUADEC 2012
in the subject. If you don't find anything, feel free to ping me.
Help organize the lightning talks!
Next step is the call for lightning talks and for BoFs! I guess this will happen in the next few days. I don't think we have anyone in charge of this yet, so if that's something you'd like to help with, just drop us a quick mail on guadec-list and we'll happily give you a I'm fantastic: I'm helping organize GUADEC
badge ;-)

Cross platform again
Writing cross platform code is easy nowadays. You use Qt, implement stuff, and it compiles and runs almost everywhere. I also enjoy that in my work on the ownCloud desktop client. But, as you know, there is the other part in the client called csync. Its the syncing engine underneath. And that does not build up on Qt, but is plain C. Adventure starts here.
This bug took me on an interesting (well…) journey into what cross platform really means.It is about a complex thing like filenames containing special characters, my favorite example is the directory “Übergröße”. Directories and files like this could not successfully be synced with the latest client.
Windows does not utf8 by default. As far as I understood it, it does a local encoding by default. If you use normal C functions to access the filesystem, something like readdir or so, you get the names in that encoding. But, because that caused problems in some point, there is another set of functions which often start with _w (for example _wreaddir) and that has an interface to deal with wide characters. This is the way to internationalization.
So what needs to be done is to use the wide character implementations everywhere where you deal with filenames (in my case). That, in turn, requires to use wchar_t instead of normal char. But that again requires a lot of #ifdef _WIN32, if its done the naive way at every place it needs to be done. I learned that typedef helps here and a meta type is defined called _TCHAR. And also for all the needed functions, meta functions are defined which are replaced by tricky defines depending on the platform. For example _treaddir becomes readdir on linux and _wreaddir on win32, while _TCHAR becomes wchar_t on Win and char on linux. The code is written using the meta types to not poison it too much with platform ifdefs.
But that is only the first step. Wide character is not utf8! And since utf8 should be used within the software all over, a conversion from wide character to utf8 and back is needed whenever the file system is accessed. Thankfully from csyncs nature, these places are quite nicely concentrated.
All that combines into a larger patch. And now the “Übergröße” folder can be synced correctly from Windows to Linux and back. Great.
What can we learn from that? Well, easy, and once again: If you have no Qt, you’re alone. Better don’t let that happen. If you have Qt, be happy and aware of what it does for you :-)