
New Rebuilds Look to Advance New Hardware
Developers of the openSUSE community are making advances toward even broader hardware support through the FrontRunner project.
FrontRunner is a rebuild of SUSE Linux Enterprise from sources in the Open Build Service (OBS) that provides community collaboration through openSUSE’s Step effort. FrontRunner rebuilds all sources in one project that include and stage changes to advance architecture enablement for future Leap releases.
“I am excited how FrontRunner opens up a new approach for openSUSE and SUSE to jointly enable new hardware architectures for openSUSE Leap,” said Dr. Gerald Pfeifer, chair of the openSUSE Board and Chief Technical Officer at SUSE.
openSUSE Leap inherits its base from SUSE Linux Enterprise.
“FrontRunner provides a staging area to feed back into SUSE Linux Enterprise, allowing for new levels of collaboration,” Pfeifer said.
Step, which was started in February, is designed to expand more architecture availability for future openSUSE Leap and SLE releases. FrontRunner rebuilds were established within the Step effort under the openSUSE:Step:Frontrunner namespace in OBS.
FrontRunner seeks to fix the rebuild failures in older releases and make advances enough to the point where community suggestions can be staged to further the development platform. This benefits things like older armv7 hardware so that it is not blocked on processes and is open to pioneer advances with other architectures.
“FrontRunner is about well tested changes that we want to merge in the next Service Pack,” said Milisav Radmanic, SLE Engineering Director. “Getting these new platform and architecture developments are a game changer.”
Step can already stage agreed-upon fixes for reproducibility and cross architecture builds. FrontRunner will provide precursor testing to match with implementation challenges and the project’s goals.
FrontRunner aims to build all sources in a single layer, which includes patches that are meant to land in a service pack. This could then make it into a Leap point release or maintenance update. With FrontRunner’s rebuild of SLE sources and Step as an intermediate building block, the builds are expected to enable community distributions like openSUSE Leap or other community derivatives.
Unlike openSUSE Leap, openSUSE Step and FrontRunner are not intended to be end user distributions. They serve to advance SLE and Leap.

 Member
 jimmac
Troubled Minister

Another weekend arrangement made mostly in Polyend Tracker. Video footage assembled from my fpv flights around Liberec over the course of past few weeks.
Listen right here:
Watch a video:
openSUSE Tumbleweed – Review of the week 2021/22
Dear Tumbleweed users and hackers,
This week was definitively amongst the more interesting ones for Tumbleweed. There was a change of the basic filesystem layout called UsrMerge. Unfortunately, despite all planning and testing, some users still ran into issues. In some cases, it could be pointed to an ‘unexpected’ setup (root on zfs, /usr/lib/debug as sep mount point…) and in some cases, the reason for the failure is not yet fully understood. But this might sound scarier than it is: a lot of users have also reported that the process worked flawlessly on their systems. Together with a full rebuild using GCC 11 snapshot 0527 was definitively huge. Besides that, two more snapshots (0601, and 0602) were published.
The major changes in this week are:
- UsrMerge enabled (https://en.opensuse.org/openSUSE:Usr_merge – see also the section ‘Known issues’)
- Distribution rebuilt using gcc 11.1
- bind 9.16.16
- ghostscript 9.54.0
- elfutils 0.185
After having slowed down Tumbleweed a bit to settle the UsrMerge dust, we could catch up with the stagings projects and have not that many things left in the queue. But that is just today and things can change quickly there. The current plans for future snapshots include:
- Linux kernel 5.12.9
- systemd-experimental (pstore, repart, homed, userdb)
- Mesa 21.1.2
- libxml 2.9.12: http://xmlsoft.org/news.html
- Cinnamon 5.0
- curl 7.77.0
- systemd 248
- KDE Plasma 5.22.0
- python3x packages will no longer provide a python symbol. This caused some confusion in the past when people expected ‘python’ to be the legacy python2, but python3x provided it as well.

Bzip2's experimental repository is changing maintainership
Bzip2's stable repository is maintained at Sourceware by Mark Wielaard. In 2019 I started maintaining an experimental repository in GitLab, with the intention of updating the build system and starting a Rust port of bzip2. Unfortunately I have left this project slip by.
The new maintainer of the experimental repository for Bzip2 is Micah Snyder. Thanks, Micah, for picking it up!
Online Open House Goes Over openSUSE, Survey Opens
The openSUSE Project has a lot going on lately. The project just released Leap 15.3, had 24-hour release party in the openSUSE Bar and opened a survey to get feedback on the release of the new Leap version.
There are many other things happening and one of those is an online open house. Members of the community will have two sessions discussing openSUSE topics during SUSE Open House CZ 2021
The event will take place on June 15 from 13:00 UTC to 17:00 UTC. Leap release manager Lubos Kocman will give a talk about how openSUSE Leap 15.3 is made and community member Jason Evans will discuss how to contribute to openSUSE.
Participants must register for the event.
The project also has the openSUSE Conference coming up from June 18 - 19. There are several talks for the conference with topics about the community, open source, new technologies, cloud computing, containers, embedded software and much more.
Kocman will also give a talk at the conference about the survey results, which is open until June 16.
openSUSE Leap 15.3 Bridges Path to Enterprise
CA / CS / ES / FR / ID / IT / NL / PT / SV / ZH-CN / ZH-TW
NUREMBERG, Germany, June 2, 2021 – openSUSE Leap 15.3 is released!
The newest minor version of openSUSE Leap is the most recent, rock-solid addition to the openSUSE 15.x series that carries all the positive attributes of its predecessors. There is one huge change from the previous Leap versions. openSUSE Leap 15.3 is built not just from SUSE Linux Enterprise source code like in previous versions, but built with the exact same binary packages, which strengthens the flow between Leap and SLE like a yin yang.
“The software craftsmanship of this release makes server, workstation, desktop and container use on openSUSE Leap a desirable distribution for IT professionals, entrepreneurs, hobbyists, small businesses and educational practitioners,” said release manager Lubos Kocman.
This release is hugely beneficial for migration projects and user acceptance testing. Large development teams gain added value by using openSUSE Leap 15.3 to optimally run and test workloads that can be lifted and shifted to SUSE Linux Enterprise Linux 15 SP3 for long-term maintenance.
openSUSE Leap offers a clear advantage for servers by providing at least 18 months of updates for each release. The community is supportive and engages with people who use older versions of Leap through community channels like the mailing lists, Matrix, Discord, Telegram, Facebook, etc.
This interwoven, connected and mutually supportive kinship between the community distribution of Leap and the enterprise distribution of the SLE version makes for an exciting release for developers, system administrators, distro-hoppers, independent software vendors, and SUSE users and customers.
The mutual relationship shared by openSUSE Leap 15.3 and SLE 15 Service Pack 3 give users of both the same choices for thousands of community supported packages. These community packages are built in an openSUSE project called “Backports” on top of the baseline of SLE. Backports are published to SUSE Package Hub, so migrations from Leap to SLE are uniform and instantaneous. Migrations between the two is fast. With a btrfs filesystem, users can test on Leap, deploy to SLE and even rollback to a Leap snapshot.
Leap empowers its users to run as many CPUs and host as many virtual machines without any limitations. Users of Leap can migrate existing server, virtual machine or containers over to SUSE Linux Enterprise, should there be a need to “turn on” enterprise support at a later time.
Many of the packages in openSUSE Leap 15.3 remain the same as those in the previous version. Leap 15.3 ships with bugfixes and security backports to a proven Long-Term-Support Kernel. This ensures that users get a stable server system, while it also provides users with drivers for newer hardware.
Upgrading from previous versions of Leap
Users upgrading to openSUSE Leap 15.3 need to be aware that upgrading directly from versions before openSUSE Leap 15.2 is not recommended. Due to the upgrade path, it is highly recommended to upgrade to Leap 15.2 before upgrading to Leap 15.3. The release only supports an upgrade from openSUSE Leap 15.2 to 15.3 as highlighted in the release notes; users are advised to read this section before migrating. Users are advised not to use zypper patch until next week.
What’s New
New major features are in Xfce 4.16. There is a new visual identity in this release of Xfce. With new icons and palette, Xfce shines a little more out of the box. The Settings Manager received a visual refresh of its filter box, which can now be hidden permanently. The search capabilities of the filter box were improved by searching the descriptive ‘Comments’ part of each dialog’s launcher (aka .desktop) file. The settings dialog of the power manager was cleaned up and shows either ‘on battery’ or ‘plugged in’ settings as opposed to both in a huge table.
GNU Health, the award-winning health- and hospital management and information system, comes in version 3.8 with a new dental module and Odontogram.. As first distribution at all, openSUSE ships MyGNUHealth, a Personal Medical Health Manager, which was developed in cooperation between the GNU Health and the KDE project. It runs on the PinePhone and on the Plasma desktop, and gives the user full ownership and control over his data.
The DNF package manager is expected in a maintenance update and will give users version 4.7.0 that provides new features in the whole stack and expected improvements. The DNF Python API is stable and supported. An experimental “opensuse/leap-dnf” and “opensuse/leap-microdnf” base containers are now available. A lightweight C implementation of DNF called “Micro DNF” is included. It is designed to be used for doing simple package management actions when users don’t need a full-blown DNF and want the tiniest useful environments possible. This is useful for the case of minimal containers and appliances. Micro DNF has been rebased to 3.8.0, which brings many fixes and improvements. Finally, an experimental alternative PackageKit backend to use DNF is also available.
openSUSE Leap runs great on several architectures and new to this release is support for IBM Z and LinuxONE (s390x) systems. The community distribution gained access to the s390x architecture from the efforts to make it binary compatible with SLE.
In previous versions of Leap, PowerPC and aarch64 were part of ports and maintained by separate community teams with limited resources. Now openSUSE Leap directly uses binary packages from the enterprise side for aarch64, powerpc64, and x86_64, so users can find those images on get.opensuse.org. People interested in armv7 and other architectures should read the announcement about openSUSE Step.
Container Technologies
The contains technology packages are all the same versions from Leap 15.2, but there are security updates to all the packages like containerd, podman, kubeadm and cri-o.
Leap 15.3 users will have more power to develop, ship and deploy containerized applications using the newer container technologies that are being maintained in the distribution. Kubernetes gives a huge boost to container orchestration capabilities, allowing users to automate deployments, scale, and manage containerized applications. Helm, the package manager for Kubernetes, helps developers and system administrators manage complexity by defining, installing, and upgrading the most complex of Kubernetes applications. Container Runtime Interface (CRI) using Open Container Initiative (OCI) conformant runtimes (CRI-O) is also included in this release. CRI-O is a lightweight alternative to using Docker as the runtime, which allows Kubernetes to use any OCI- compliant runtime as the container runtime for running pods or processes running on a cluster.
Even with Docker, the use of microservices will be secure thanks to more container packages arriving in this release.
Containers
Users of Leap can migrate existing server, virtual machine or container over to SUSE Linux Enterprise within minutes, should there be a need “turn on” enterprise support at a later time.
There aren’t any constraints as to how many CPUs can be run, how many virtual machines can be hosted, how long the machine can run, and other constraints found with some free tiers enterprise-grade distributions.
Artificial Intelligence (AI) and Machine Learning
Tensorflow: A framework for deep learning that can be used by data scientists, provide numerical computations and data-flow graphs. Its flexible architecture enables users to deploy computations to one or more CPUs in a desktop, server, or mobile device without rewriting code.
PyTorch: Made for both server and compute resources, this machine learning library accelerates power users’ ability to prototype a project and move it to a production deployment.
ONNX: An open format built to represent machine learning models, provides interoperability in the AI tool space. It enables AI developers to use models with a variety of frameworks, tools, runtimes, and compilers.
Grafana and Prometheus are highly useful to analytical experts. Grafana provides end users the ability to create interactive visual analytics. Feature-rich data-modeling packages: Graphite, Elastic and Prometheus give openSUSE users greater latitude to construct, compute and decipher data more intelligibly.
Desktop Environment
The Long-Term-Support version of KDE’s Plasma 5.18 is once again available in Leap 15.3. The LTS has a significant amount of polish and quality features. Notifications are clearer, settings are streamlined and the overall look is more attractive. GNOME 3.34 provides a considerable amount of visual refreshes for a number of applications. More data sources in sysprof makes performance profiling of an application even easier and there are multiple improvements to Builder including an integrated D-Bus inspector. With a new pattern for Cinnamon, Leap 15.3 offers in total 8 attractive Desktops for (parallel) installation, to match personal preferences and hardware capabilities.
Cloud Images, Hardware and Architectures
Linode cloud images of Leap are available today and ready for all infrastructure needs. Cloud hosting services will offer images of Leap 15.3 in the coming weeks like Amazon Web Services, Azure, Google Compute Engine and OpenStack. Leap 15 is continually optimized for cloud usage scenarios as a host and virtualization guest. TUXEDO Computers and Linux notebooks can be purchase with Leap 15.2 preinstalled. Leap 15.3 can also be ordered preinstalled with Slimbooks.
Servers and Desktops
Leap is ideal for desktop and server environments. System Administrators and small businesses can use Leap for hosting web and mail servers. Sysadmins can take full advantage of the network management protocol Dynamic Host Configuration Protocol (DHCP), allocate resources using Domain Name System (DNS) or offer client computers access to files over a Network FileSystem (NFS). File and host sharing packages like Nextcloud are also available and the groupware application suite Kopano is part of the official Leap 15.3 release.
Architectures available for testing include x86_64, aarch64, PowerPC and s390x. Armv7 architecture should read the announcement about openSUSE Step.
Find more information about openSUSE Leap 15.3 Windows Subsystem for Linux here.
End of Life
openSUSE Leap 15.2 will have its End of Life (EOL) six months from today’s release. Users should update to openSUSE Leap 15.3 to continue to receive security and maintenance updates.
Download Leap 15.3
To download the ISO image, visit https://get.opensuse.org/leap/
Questions
If you have a question about the release or think found a bug, we’d love to hear from you at:
https://t.me/openSUSE_group
https://lists.opensuse.org/opensuse-support/
https://discordapp.com/invite/openSUSE
https://www.facebook.com/groups/opensuseproject
Get involved
The openSUSE Project is a worldwide community that promotes the use of Linux everywhere. It creates two of the world’s best Linux distributions, the Tumbleweed rolling-release, and Leap, the hybrid enterprise-community distribution. openSUSE is continuously working together in an open, transparent and friendly manner as part of the worldwide Free and Open Source Software community. The project is controlled by its community and relies on the contributions of individuals, working as testers, writers, translators, usability experts, artists and ambassadors or developers. The project embraces a wide variety of technology, people with different levels of expertise, speaking different languages and having different cultural backgrounds. Learn more about it on opensuse.org.

Digest of YaST Development Sprint 124
The YaST Team at SUSE keeps working with an eye in the future. During the latest sprint we invested quite some time thinking about the long term and how YaST (and Linux installers in general) fit into a landscape of containers, cloud computing and related technologies. But we also found time to work on setting the foundations for some mid-term goals. That includes:
- Progress in the rewrite of yast2-users, including AutoYaST
- Better tools to track memory consumption during installation
- A new YaST module to assist those working in the YaST look & feel
- Improved logging of products information
As you know from previous sprint reports, we are rewriting big parts of the users management in YaST. During this sprint we integrated support for authorized keys and improved several aspects of the interactive installation and password management. We also took big steps forward in the rewrite of users handling in AutoYaST. The new implementation is steadily approaching to its debut in openSUSE Tumbleweed, but we still need one or two sprints more to ensure it’s solid enough and ready to provide a seamless transition.
But users management is not the only area that has been problematic lately. As more software gets added to the openSUSE distributions and more products and variants get added to SUSE Linux Enterprise, we see the memory consumption of the installation process grow… too much for our taste. Finding areas were we can cut down the memory usage is not trivial, so we just added optional in-process memory profiling to the installer. Hopefully this new tool will be the first step to a slimmer installer for the future.
We do not only want to have a more efficient installer, we also want it to be prettier. But for that the YaST Team has to rely on the skills of more talented designers, who create and tweak the Qt style sheets used to define the final look of YaST. To ease their work, we created a new special YaST module called YaST Widget Demo. Apart from the new module itself, that new repository includes all the information needed to start playing with YaST theming, and even a collection of screenshots of the current state in both openSUSE and SLE.
As mentioned before, one of the reasons for the growth of the SUSE Linux Enterprise installation is the wide offering of products and extensions. Since each product, module, extension and role can influence the installation process, that variety also increases the complexity and makes harder to diagnose possible problems during the installation or upgrade process. To tackle that, in future releases YaST will create a separate and detailed log with all the associated information. That will allow us to better help openSUSE and SLE users facing related issues.
openSUSE Leap 15.3 will be officially released tomorrow and SLE-15-SP3 is also around the corner. Time to enjoy them… and to think about what’s next! While the YaST Team continues with the development of new features and tools to keep improving our beloved distributions, you can take your part by responding to the call for feature requests for openSUSE Leap 15.4. Let’s keep having a lot of fun!
Release Manager Provides Update on Early Features Requisitions for Leap 15.4
The release manager of openSUSE Leap is finishing up the release of Leap 15.3, but wants to keep contributors and developers informed about an early feature request deadline for the Leap 15.4 release.
Early feature requests are important since Leap is compatible with SUSE Linux Enterprise and the early feature request deadline for Service Pack 4 is June 26.
“This is very important to openSUSE Leap 15.4 contributors as 1/3 of Leap 15.4 binaries will be re-used with SUSE Linux Enterprise and therefore submit requests are accepted there,” wrote release manager Lubos Kocman on a project email list. “Just to clarify, this deadline is the same for everyone, be it a largest partner, community contributor or an employee.”
openSUSE Leap and Package Hub exclusive packages will have similar deadlines as described in the roadmap.
“We’re aiming for the Leap 15.4 GA in early June 2022, therefore deadlines will only slightly vary from the previous release,” Kocman wrote.
This communication is mainly to identify very obvious updates or requests for features that people would like to have in SLE 15 SP4 and therefore inherited to openSUSE Leap 15.4. Requests during later development cycles have a bit more complicated path but there are processes for it. These processes have a bit more complications to pass and it generally takes longer, so please request features early. Requests don’t mean that code submissions have to be ready, but it does mean an issue for it is created.
“I’m processing requests together with Neal Gompa and others who join our call on Mondays,” Kocman wrote.
If developers are unsure, simply join the call.
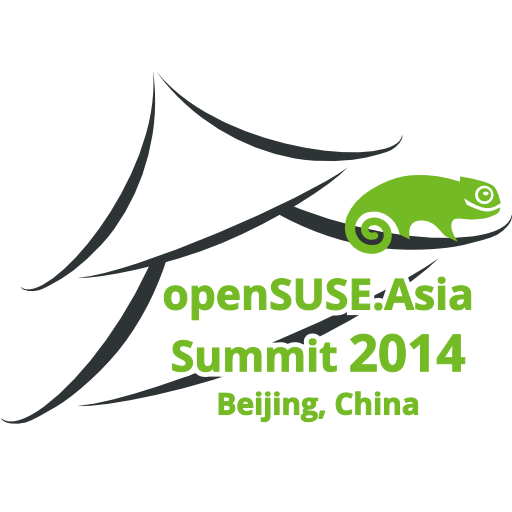
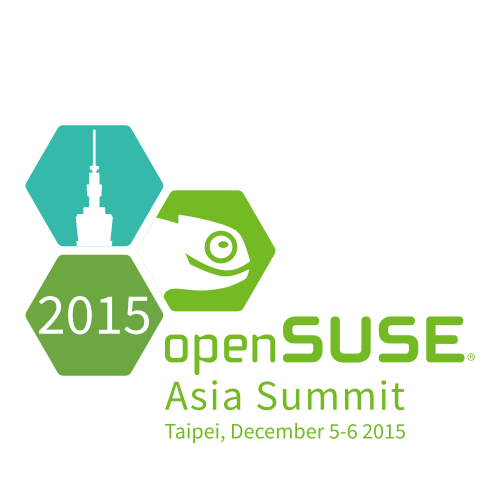
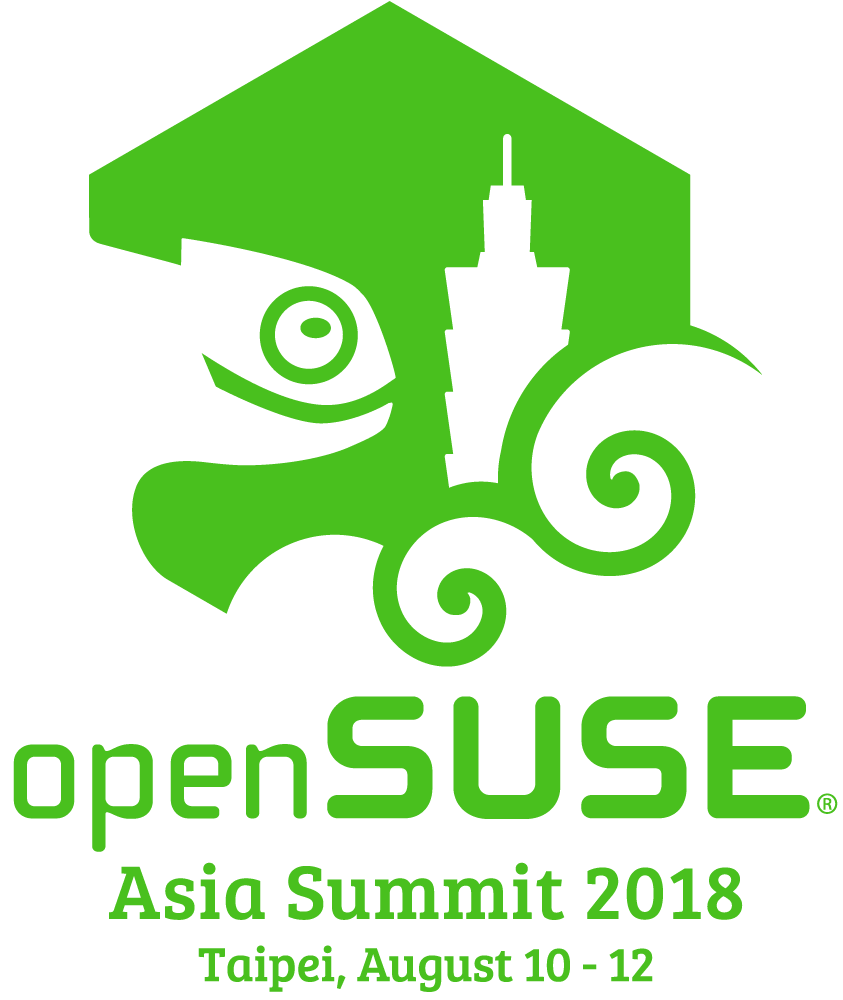
openSUSE.Asia Summit 2021 Logo Competition Announcement
openSUSE.Asia Online Summit 2021 Logo Competition
![]()
It’s a rationally acknowledged fact that openSUSE has a reputation for community-driven projects. Buckle up, here’s your chance to contribute to this community event! Since the inception of openSUSE.Asia summits, logos have perfectly illustrated the organizing country. Following the suit, a logo-designing competition has been organized for openSUSE.Asia Summit 2021, India.
The organizing team will send “Geeko Mystery Box” as a token of appreciation for the best logo design, voted on by the openSUSE Asia committee.
Deadline:26 June 2021 UTC 13:00
Winner Declaration:26 July 2021 UTC 13:00
The Rules of the contest are as follows:
- The logo should be licensed under CC-BY-SA 4.0 and allow everyone to use the logo without attribution (BY) if your work is used as the logo for openSUSE.Asia Summit 2021.Note that the attribution will be exhibited on the summit website.
- Any reproduced Design will be disqualified. Furthermore, It must not include any third-party materials.
- Both monochromes and color formats are essential for submission.
- Submissions must be in SVG format.
- Design should demonstrate the openSUSE community in Asia.
- The following must not form a part of the logo:
- Brand names or trademarks of any kind.
- Offensive, inappropriate, hateful, tortuous, defamatory, slanderous, or libelous.
- Sexually explicit or provocative images.
- Violence or weapons.
- Alcohol, tobacco, or drug use imagery.
- Discrimination based on race, gender, religion, nationality, disability, sexual orientation, or age.
- Bigotry, racism, hatred, or harm against groups or individuals
- Religious, political, or nationalist imagery.
- The logo should follow “openSUSE Project Trademark Guidelines” published at https://en.opensuse.org/File:openSUSE_Trademark_Guidelines.pdf
- The branding guidelines will be helpful to design your logo (optional) https://opensuse.github.io/branding-guidelines/
Please submit your entries at opensuseasia-summit@googlegroups.com with the following details:
- Subject: openSUSE.Asia Summit 2021 Logo Design - [your name]
- Your name and e-mail address
- A document elucidating the idea/motivation/perspective behind the design (txt or pdf)
- Vector file of the design with SVG format ONLY.
- Bitmap of design in the attachment — image size: 256 * 256 px at least, PNG format.
- File size: less than 512 KB.
The openSUSE.Asia Summit Committee reserves the right to disqualify any entry infringing the basic requirements. We recommend the artists to use Inkscape, a powerful, free, and open source vector graphics tool for all kinds of design.


Logo of 2021?? :thinking:
