sakana
AWS Elastic Load Balancing with openSUSE instance in AWS 測試小記

- Instance-id 請換成自己的 id
- --groups 後面請填上 security-group-id
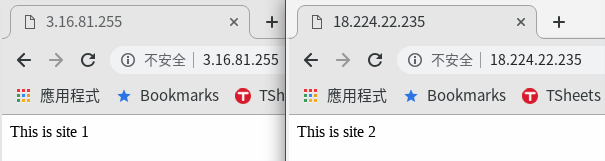
- 使用 AWS CLI 來建立 Application Load Balancer https://docs.aws.amazon.com/zh_tw/elasticloadbalancing/latest/application/tutorial-application-load-balancer-cli.html
- 使用以路徑為基礎的路由與 Application Load Balancer 搭配使用 https://docs.aws.amazon.com/zh_tw/elasticloadbalancing/latest/application/tutorial-load-balancer-routing.html
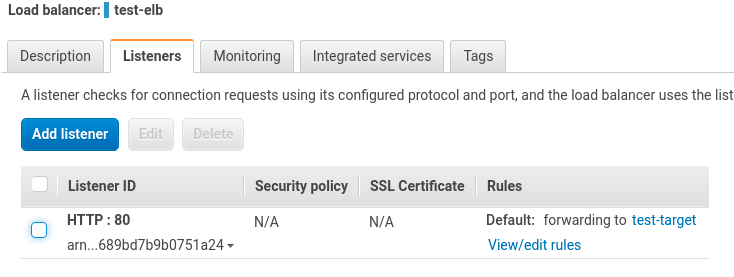
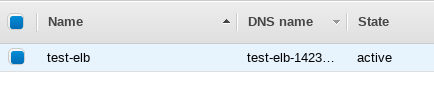
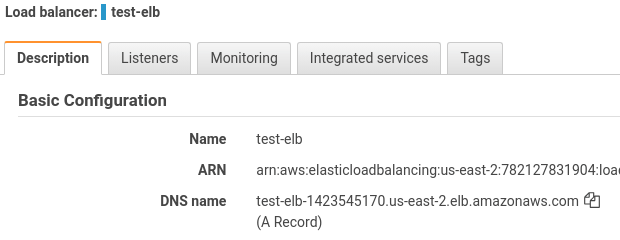
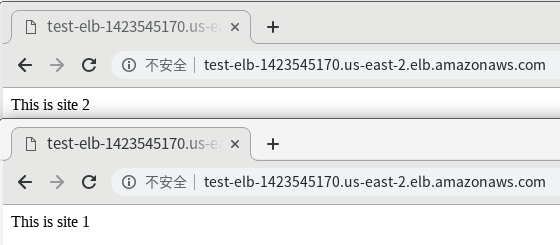
- 建立一個 test-elb, 與 2 個 subnet 和 1 個 security group


- 這邊要指定 vpc-id 不能使用預設的方式

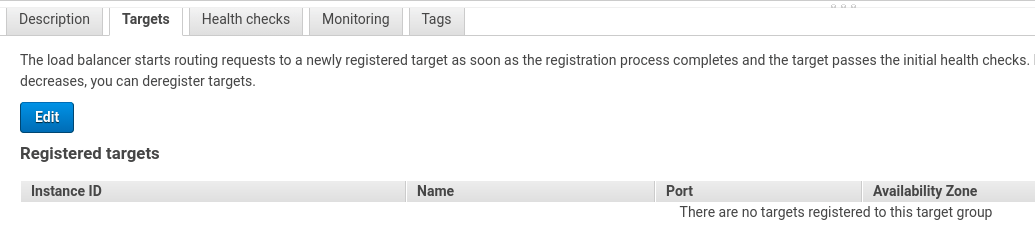
- Target-group-arn 用剛剛建立起來的 arn
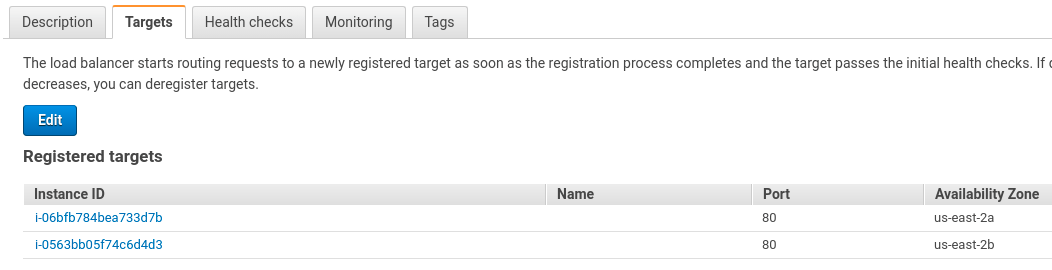
- --targets 後面接 2 個 openSUSE instance id

 Member
experimental openSUSE mirror via IPFS
The InterPlanetary File System (IPFS) can be used to provide files in a more efficient and distributed way than HTTP.
Our filesystem repo already has the go-ipfs client.
You use it with
ipfs daemon --init
And then you can add my Tumbleweed mirror with
zypper ar http://127.0.0.1:8080/ipns/opensuse.zq1.de./tumbleweed/repo/oss/ ipfs-oss
You can also browse the content online at
http://opensuse.zq1.de./tumbleweed/repo/oss/ . During my testing I found that the results are sometimes inappropriately cached on the Cloudflare CDN, so if you used it under this URL without the ipfs client, this might throw signature errors in zypper.
On the server side, the mirror is updated using the syncopensuse script from
https://github.com/bmwiedemann/opensusearchive and consistency of the repo is verified with checkrepo
When a complete repo was synced, dynaname updates a DNS entry to point to the new head:
> host -t txt _dnslink.opensuse.zq1.de.
_dnslink.opensuse.zq1.de is an alias for tumbleweedipfs.d.zq1.de.
tumbleweedipfs.d.zq1.de descriptive text “Last update: 2019-04-03 12:23:43 UTC”
tumbleweedipfs.d.zq1.de descriptive text “dnslink=/ipfs/QmSXEVuU5z23rDxMyFYDhSAUaGRUPswuSXD3aVsBEzucjE”
If you got spare bandwidth and 300 GB disk on some public server, you could also host a mirror of today’s version, simply by doing ipfs pin add QmSXEVuU5z23rDxMyFYDhSAUaGRUPswuSXD3aVsBEzucjE
This is a permalink: http://127.0.0.1:8080/ipfs/QmSXEVuU5z23rDxMyFYDhSAUaGRUPswuSXD3aVsBEzucjE also browsable via any public IPFS gateway. This means, it will always remain on the 20190401 version of Tumbleweed and no changes in content are possible – similar to how a git commit ID always refers to the same data.
So why did I create this IPFS mirror? That is related to my work on reproducible builds for openSUSE. There it regularly happened that published Tumbleweed binaries were built with libraries, compilers and toolchains that were no longer available in current Tumbleweed. This prevented me from verifying that the published binaries were indeed built correctly without manipulation on the OBS build workers.
Now, with this archive of rpms easily available, it was possible to verify many more Tumbleweed packages than before. And most importantly, it remains possible to independently verify even after Tumbleweed moves on to newer versions. This data is going to stay available as long as anyone pins it on a reachable server. I’m going to pin it as long as it remains relevant to me, so probably a bit until after the next full Tumbleweed rebuild – maybe 6 to 12 months.
Thus, it now is even less easy to sneak in binary backdoors during our package build process.

Falkon, otra alternativa de navegador web para los escritorios Linux

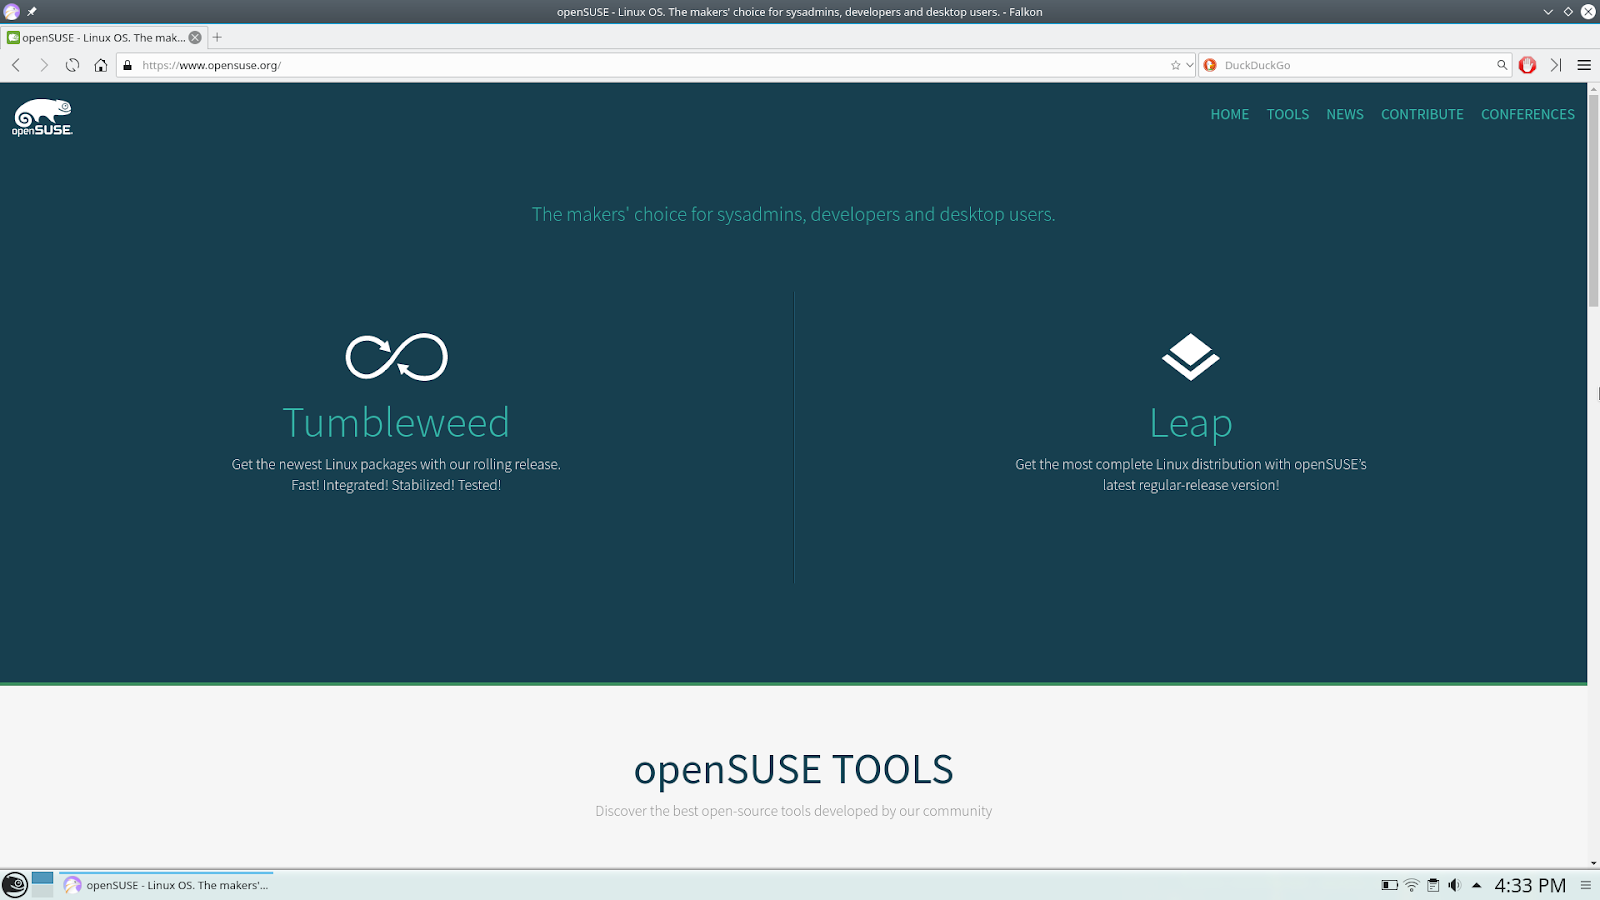
Falkon es un navegador web diseñado para integrarse bien con todos los escritorios Linux comunes, como los escritorios GNOME y KDE Plasma. Es compatible con los estándares web actuales y viene con muchas características, como un bloqueador de anuncios integrado. Anteriormente se conocía como QupZilla.
Si deseas probar un navegador web alterno a Mozilla Firefox, definitivamente Falkon es una gran elección.
Enabling scroll wheel emulation for the Logitech Trackman Marble using Wayland and GNOME 3
For ergonomic reasons, I’ve long used Trackballs as pointing devices instead of regular mice. For several years now, I have been using a Logitech Trackman Marble and a libinput tweak to use the trackball for scrolling by holding down one of the buttons while spinning the ball.

This worked well until some distributions decided to switch to using Wayland as a replacement for X.org. In the past, I have been reverting back to using X.org (by setting WaylandEnable=True in /etc/gdm/custom.conf), as Wayland does not support the required libinput configurations. I found a workaround that creates a shared library that can be preloaded to implement this, but that looked somewhat hacky to me.
But as Wayland seems to be the way forward and my latest distribution upgrade caused some weird X.org issues (my dual-screen setup did no longer work properly), I caved in and switched to Wayland again. At least all of my screens were properly detected afterward, but the scroll wheel emulation was broken. I did some research to see if the libinput support in Wayland had improved in that regard in the meanwhile, but it seems it doesn’t.
However, I found a solution for enabling mouse wheel emulation in Wayland/GNOME3 on the Arch Linux Wiki: simply run the following command in a terminal window:
gsettings set org.gnome.desktop.peripherals.trackball scroll-wheel-emulation-button 8
Now button 8 (the small button above the left button) acts both as a “back” button (e.g., when browsing web pages) as well as the modifier that turns the trackball into a scroll wheel, just like before. Nifty!

translation-finder 1.1
The translation-finder module has been released in version 1.1. It is used by Weblate to detect translatable files in the repository making setup of translation components in Weblate much easier. This release brings lot of improvements based on feedback from our users, making the detection more reliable and accurate.
Full list of changes:
- Improved detection of translation with full language code.
- Improved detection of language code in directory and file name.
- Improved detection of language code separated by full stop.
- Added detection for app store metadata files.
- Added detection for JSON files.
- Ignore symlinks during discovery.
- Improved detection of matching pot files in several corner cases.
- Improved detection of monolingual Gettext.


Bitwarden a Secure Password Manager on openSUSE

A Rust API for librsvg
After the librsvg team finished the rustification of
librsvg's main library, I wanted to start porting the high-level test
suite to Rust. This is mainly to be able to run tests in parallel,
which cargo test does automatically in order to reduce test times.
However, this meant that librsvg needed a Rust API that would exercise
the same code paths as the C entry points.
At the same time, I wanted the Rust API to make it impossible to
misuse the library. From the viewpoint of the C API, an RsvgHandle
has different stages:
- Just initialized
- Loading
- Loaded, or in an error state after a failed load
- Ready to render
To ensure consistency, the public API checks that you cannot render an
RsvgHandle that is not completely loaded yet, or one that resulted
in a loading error. But wouldn't it be nice if it were impossible to
call the API functions in the wrong order?
This is exactly what the Rust API does. There is a Loader,
to which you give a filename or a stream, and it will return a
fully-loaded SvgHandle or an error. Then, you can only create a
CairoRenderer if you have an SvgHandle.
For historical reasons, the C API in librsvg is not perfectly
consistent. For example, some functions which return an error will
actually return a proper GError, but some others will just
return a gboolean with no further explanation of what went wrong.
In contrast, all the Rust API functions that can fail will actually
return a Result, and the error case will have a meaningful
error value. In the Rust API, there is no "wrong order" in which the
various API functions and methods can be called; it tries to do the
whole "make invalid states unrepresentable".
To implement the Rust API, I had to do some refactoring of the internals that hook to the public entry points. This made me realize that librsvg could be a lot easier to use. The C API has always forced you to call it in this fashion:
- Ask the SVG for its dimensions, or how big it is.
- Based on that, scale your Cairo context to the size you actually want.
- Render the SVG to that context's current transformation matrix.
But first, (1) gives you inadequate information because
rsvg_handle_get_dimensions() returns a
structure with int fields for the width and
height. The API is similar to gdk-pixbuf's in that it always wants to
think in whole pixels. However, an SVG is not necessarily
integer-sized.
Then, (2) forces you to calculate some geometry in almost all cases, as most apps want to render SVG content scaled proportionally to a certain size. This is not hard to do, but it's an inconvenience.
SVG dimensions
Let's look at (1) again. The question, "how big is the SVG" is a bit meaningless when we consider that SVGs can be scaled to any size; that's the whole point of them!
When you ask RsvgHandle how big it is, in reality it should look at
you and whisper in your ear, "how big do you want it to be?".
And that's the thing. The HTML/CSS/SVG model is that one embeds content into viewports of a given size. The software is responsible for scaling the content to fit into that viewport.
In the end, what we want is a rendering function that takes a Cairo context and a Rectangle for a viewport, and that's it. The function should take care of fitting the SVG's contents within that viewport.
There is now an open bug about exactly this sort of API. In the end, programs should just have to load their SVG handle, and directly ask it to render at whatever size they need, instead of doing the size computations by hand.
When will this be available?
I'm in the middle of a rather large refactor to make this viewport concept really work. So far this involves:
-
Defining APIs that take a viewport.
-
Refactoring all the geometry computation to support the semantics of the C API, plus the new
with_viewportsemantics. -
Fixing the code that kept track of an internal offset for all temporary images.
-
Refactoring all the code that mucks around with the Cairo context's affine transformation matrix, which is a big mutable mess.
-
Tests, examples, documentation.
I want to make the Rust API available for the 2.46 release, which is hopefully not too far off. It should be ready for the next GNOME release. In the meantime, you can check out the open bugs for the 2.46.0 milestone. Help is appreciated; the deadline for the first 3.33 tarballs is approximately one month from now!
Restaurar la contraseña de root en MariaDB
Para restaurar la contraseña, desde la CLI escribimos los siguientes comandos:- Detenemos MariaDB sudo service mysql stop- Iniciamos MySQL sin activar la db de MariaDB donde esta la contraseña de root
sudo mysqld_safe --skip-grant-tables &- Accedemos a MariDB sin contraseña
mysql -u root- Seleccionamos mysql como base de datos
<MariaDB [(none)]> use mysql;<MariaDB [mysql]> update user set password=PASSWORD("mi-nueva-contraseña") where User='root';<MariaDB [mysql]> update user set plugin="";<MariaDB [mysql]> flush privileges;<MariaDB [mysql]> exit - Reiniciamos el serviciosudo service mysql stopsudo service mysql start- Accedemos a la BD y comprobamos que los cambios están funcionandomysql -u root -p
Fortaleciendo un servidor web (Apache2)

Una vez instalados, los habilitamos para que el sistema los reconozca